How to do Custom login in Azure Mobile Services

About a week ago I introduced ZuMo.API which is a Windows Azure Mobile Service (ZuMo) that was configured with a custom login provider that takes a username and password.
Today I want to show how you actually login to the API (remember that ZuMo really just is an API).
If you clone, open and run the project in the ZuMo.API repo, a database will be created for you and you should see the default "This mobile service is running" screen.
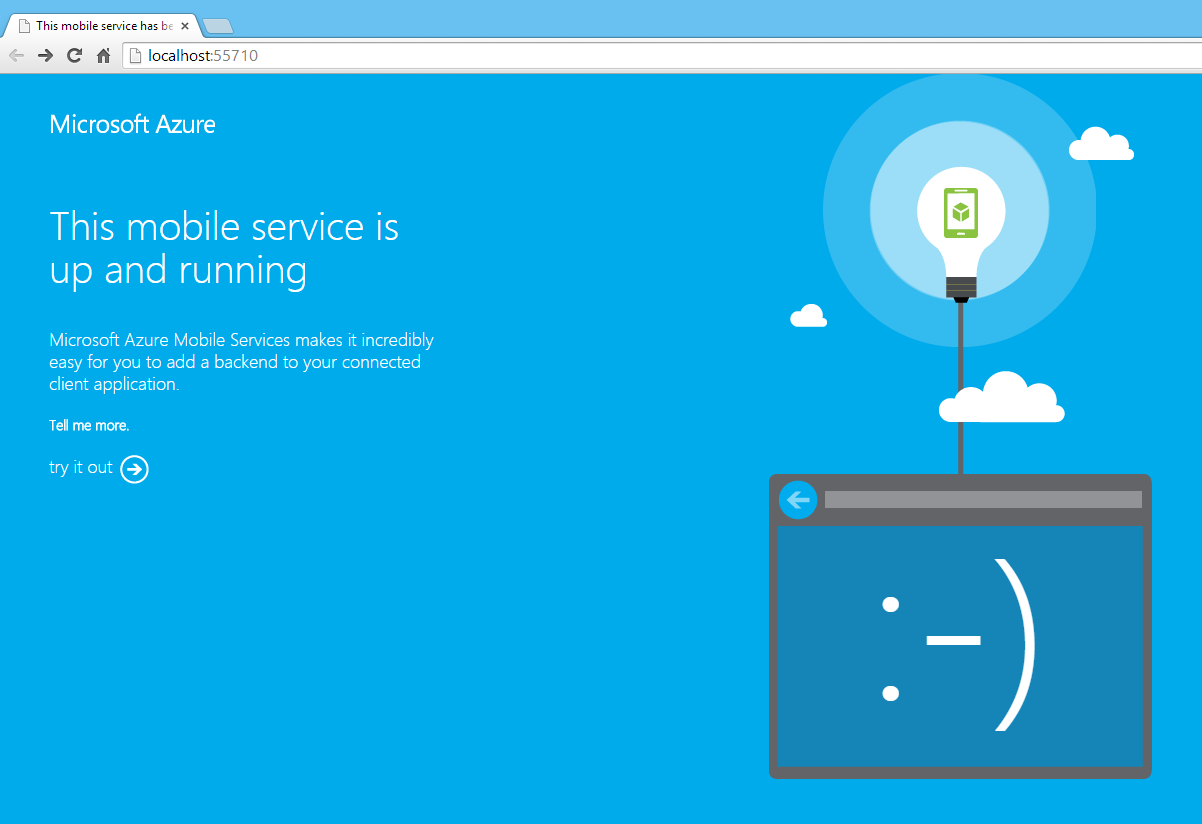
What's really neat is that all the API endpoints that you expose will be added automatically to the help pages that you can find by clicking the "try it out" link to the left on the page.
Since this is a brand new service, we don't have an account yet so the first thing we should do is create one, which is done via the POST api/Accounts endpoint - go ahead and click that link on the help page.
The page will show which parameters you need to include when calling the API endpoint, but at the very top next to the "signature" of the method you'll see a try this out button. Clicking that reveals a neat little helper to build and execute a request.
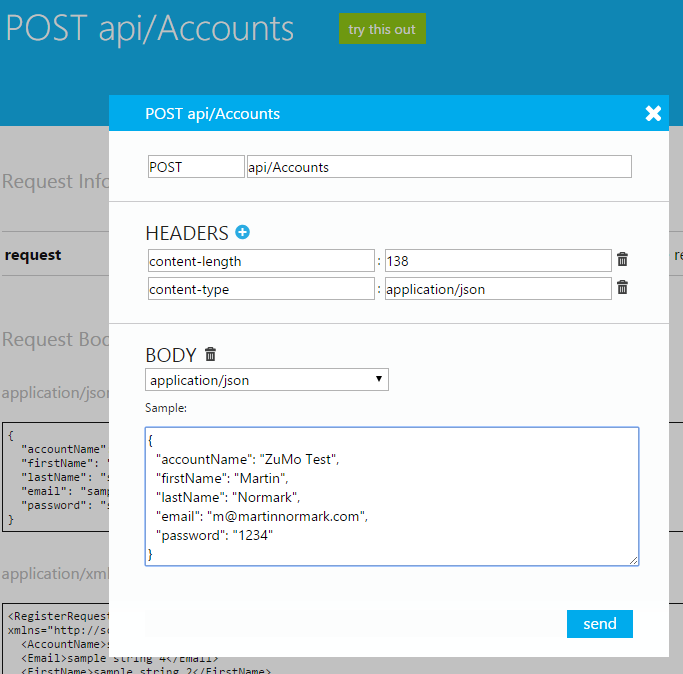
Fill out the JSON in the body with the details you'd like to use and go ahead and send the request.
You'll get back an HTTP 200 OK response that includes your details, except for the password, and the Id of the account that was created for you.
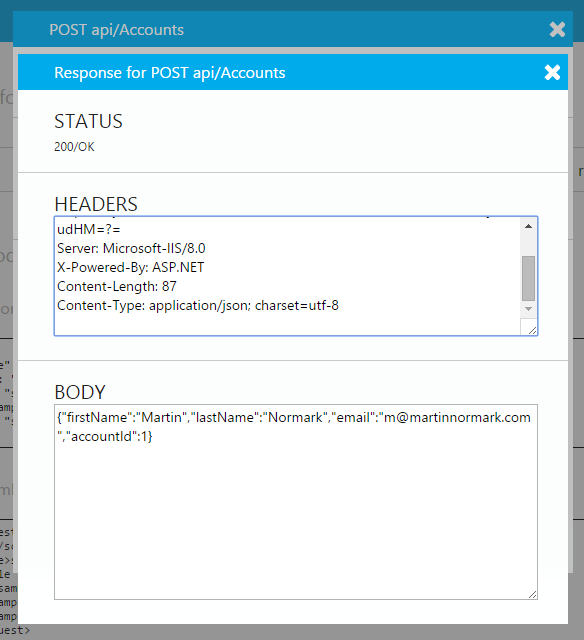
The account which AccountId refers to is actually not the user account, but and account the user was associated with which makes it possible to create several users for the same account. The user still carries the responsibility of logging in, but they'll act on behalf of the associated account.
Now that we created a user account we have credentials to actual login. The way your endpoints are secured is by decorating your API controllers or actions with [AuthorizeLevel(AuthorizationLevel.User)]. But when calling the API you don't want to specify your username and password on every request. Instead you need to exchange the credentials for an auth token (which is a JSON Web Token - JWT).
To do that go back to the overview page of the help pages, and click the link for POST api/accounts/login endpoint.
Add your credentials to the JSON payload in the body field like this:
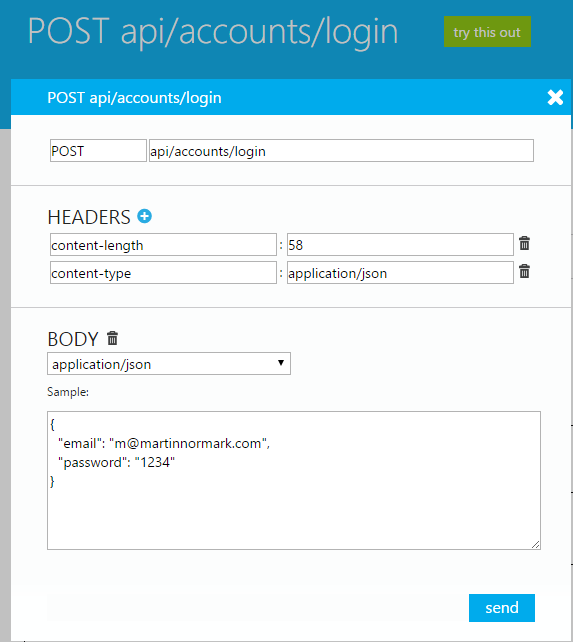
When you send the request, you'll get back a JSON response that includes an auth token.
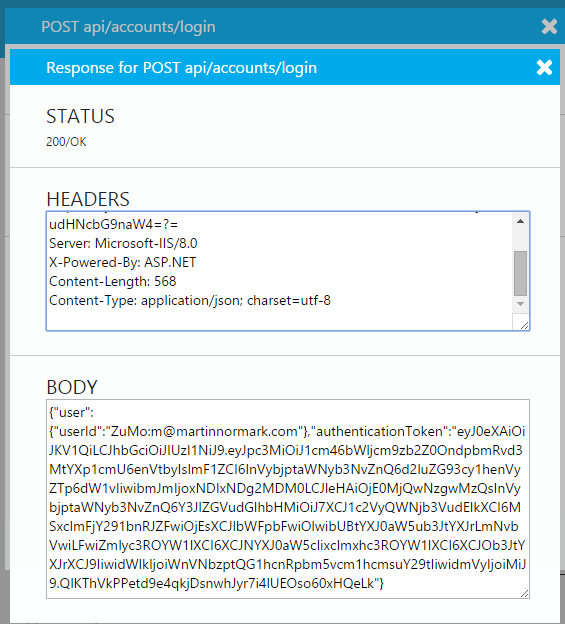
The interesting part of this response is the meaningless value in the authenticationToken property.
We need this when calling any protected API endpoints to identify ourselves as a user, and give the API the possibility to find the data associated with our account.
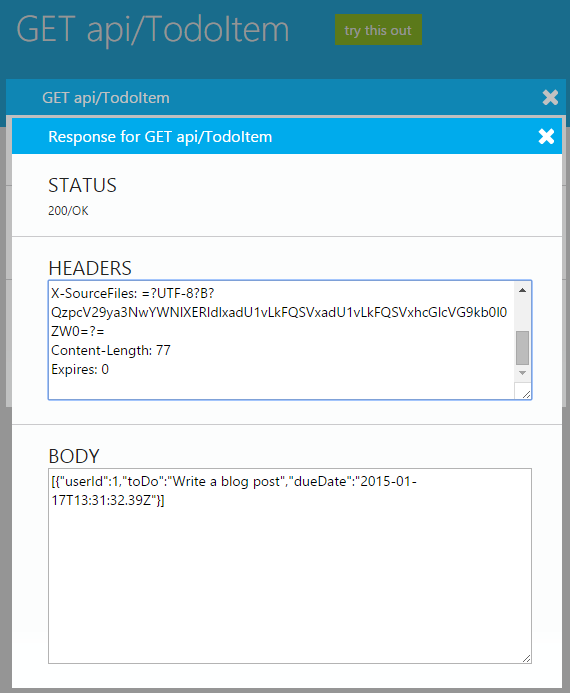
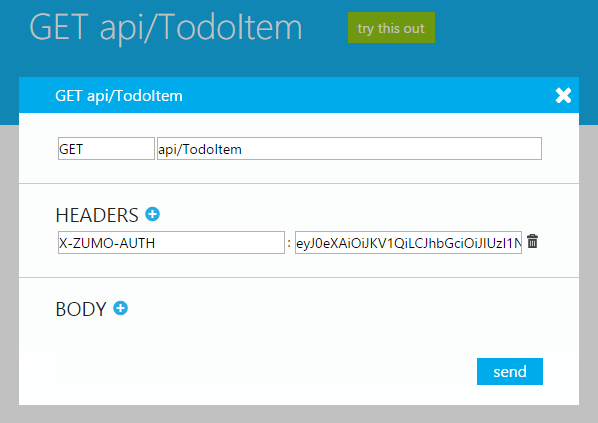
In the project there's a dummy TodoItemController that exposes a GET endpoint at api/TodoItem which will return dummy values representing all the todo items on the user's account.
To make an authenticated request to that endpoint, we need to include the auth token as an HTTP Header named X-ZUMO-AUTH with the request.
This is easily done via the help pages by clicking the blue + button in the headers section of the form.
When the API endpoint receives the request with the auth token, we need to get the logged in API user represented by the auth token. Most of this is done for you, since the custom login provider has been registered and all you need to do is to find the app specific credentials your login provider is using which can be done like the following.
Quite simple. The above code is included as an extension method to ApiController and is already added to the ZuMo.API project.
The response we get from the TodoItemController looks like this: